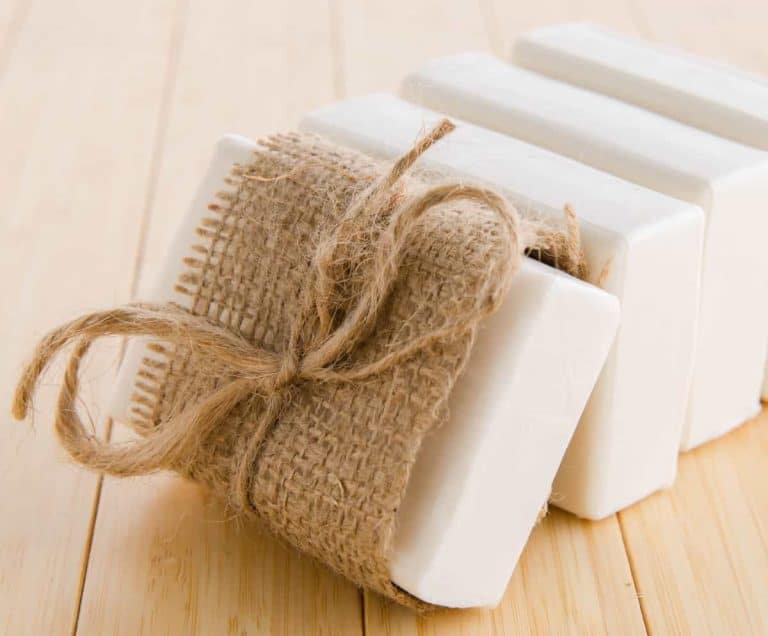
Pin on Soap Recipes

Are you ready for an adventure in soap-making? Well, hold on tight because we’re about to embark on a journey filled with bubbly fun! Today, we’re bringing you some hilarious soap recipes that will have you laughing all the way to the sink. Get ready to indulge in your wild side and create some unique and hilarious homemade soaps!
Ingredients:
- Fun and adventurous spirit
- Creativity to the max
- A pinch of humor
- Soap mold in a hilarious shape
- Mixing bowl full of laughter
- Colorful and vibrant soap dyes
- Essential oils of joy and happiness
- Imagination in abundance
Instructions:
1. Mix all the ingredients together in a bowl, making sure to add generous amounts of creativity and imagination.
2. Pour the mixture into the hilarious soap mold of your choice. We recommend shapes like rubber ducks, silly emojis, or even your favorite animal.
3. Let the soap sit and harden for a few hours. In the meantime, you can prepare your bathroom for the burst of laughter that’s about to come.
How to Prepare:
1. Once the soap is fully hardened, carefully remove it from the mold and admire its hilarious shape.
2. Place the soap near your sink or in the shower, ready to bring joy and laughter to your daily routine.
Preparation Time:
Creating these hilarious soaps will take you on a hilarious journey of about 3-4 hours. But trust us, it’ll be worth every second!
Servings:
This recipe will make enough hilarious soap to keep your bathroom stocked with laughter for a month. Share the joy with friends and family!
Nutrition Facts:
While these soaps are not meant for consumption, they are guaranteed to provide a daily dose of giggles and smiles. No calories, just happiness!
Tips:
- Experiment with different colors and scents to create a variety of hilarious soaps.
- Get creative with the shape of your soap molds. The more hilarious, the better!
- Gift these funny soaps to friends and family. They’ll thank you for brightening up their daily routine.
FAQs:
Q: Can I use these hilarious soaps as regular soap for cleaning? A: Absolutely! These soaps are not only funny but also effective in cleaning your skin. Double the fun! Q: What if I can’t stop laughing while using these soaps? A: Embrace the laughter! Soap time should be a joyful experience.
3 Easy Cold Process Soap Recipes Without Coconut Oil – RusticWise
Have you ever wanted to make cold process soap without coconut oil? Look no further! We’ve got three fantastic recipes that will leave your skin feeling silky smooth and coconut-free. So grab your apron and let’s dive into the world of coconut-free soap-making.
Ingredients:
- Shea butter - 200g
- Olive oil - 300g
- Sunflower oil - 200g
- Cocoa butter - 50g
- Castor oil - 50g
- Water - 140g
- Sodium hydroxide (lye) - 64g
- Fragrance or essential oil - your choice
- Colorants - optional
Instructions:
1. In a well-ventilated area, wearing protective gloves and goggles, slowly add the sodium hydroxide to the water. Stir until dissolved. This creates the lye solution. Set it aside to cool.
2. In a separate container, melt the shea butter, olive oil, sunflower oil, cocoa butter, and castor oil. Heat them gently until fully melted and combined.
3. Allow both the lye solution and the oils to cool to around 100°F (38°C).
4. Slowly pour the lye solution into the oils, stirring gently as you go. Continue stirring until the mixture reaches a light trace.
5. Add your fragrance or essential oil and any colorants you desire. Stir well to fully incorporate.
6. Pour the soap mixture into molds and cover with a towel or lid to retain heat.
7. Leave the soap to cure for 24-48 hours. It will become firm and easy to remove from the molds.
How to Prepare:
1. Once your soap has fully hardened, carefully remove it from the molds.
2. Cut the soap into your desired shapes, whether it’s bars or fun shapes like stars or hearts.
3. Allow the soap to cure for at least four weeks. During this time, it will become milder and harder, creating a luxurious lather.
Preparation Time:
Creating these coconut-free cold process soaps will take you on a delightful journey of around 2-3 hours, including prep time and molding. The curing process takes an additional four weeks, but trust us, the wait will be worth it!
Servings:
This recipe will yield approximately 8-10 bars of wonderful coconut-free cold process soap. Plenty to keep you clean and moisturized for a long time!
Nutrition Facts:
While these soaps are not meant to be eaten, they will provide your skin with nourishment and hydration. No calories, just pure cleansing goodness!
Tips:
- Experiment with different fragrance or essential oil combinations. Find the perfect scent that suits your preference.
- If using colorants, mix them with a small amount of oil or water before adding them to the soap mixture. This ensures even distribution.
- Allow the soap to cure in a cool, dry place. This will help it harden and become milder.
FAQs:
Q: Can I use these coconut-free cold process soaps on sensitive skin? A: Absolutely! The mild and nourishing ingredients make these soaps suitable for sensitive skin types. Q: How long should I let the soap cure before using it? A: It’s best to let the soap cure for at least four weeks. This allows it to become milder and harder, resulting in a better lather and longer-lasting bar.
Best Cold Process Soap Recipe Without Palm Oil | Deporecipe.co

Ready to make some fabulous cold process soap without the use of palm oil? Look no further! We have the best recipe that will leave your skin feeling soft, smooth, and palm oil-free. So let’s dive right into this palm oil-free soap-making adventure!
Ingredients:
- Olive oil - 300g
- Coconut oil - 200g
- Shea butter - 100g
- Avocado oil - 100g
- Castor oil - 50g
- Water - 175g
- Sodium hydroxide (lye) - 65g
- Fragrance or essential oil - your choice
- Colorants - optional
Instructions:
1. In a well-ventilated area, wearing protective gloves and goggles, slowly add the sodium hydroxide to the water. Stir until dissolved. This creates the lye solution. Set it aside to cool.
2. In a heat-safe container, combine the coconut oil, shea butter, avocado oil, and castor oil. Heat them gently until fully melted and combined.
3. Allow both the lye solution and the oils to cool to around 100°F (38°C).
4. Slowly pour the lye solution into the oils, stirring gently as you go. Continue stirring until the mixture reaches a light trace.
5. Add your fragrance or essential oil and any colorants you desire. Stir well to fully incorporate.
6. Pour the soap mixture into molds and cover with a towel or lid to retain heat.
7. Leave the soap to cure for 24-48 hours. It will become firm and easy to remove from the molds.
How to Prepare:
1. Once your soap has fully hardened, carefully remove it from the molds.
2. Cut the soap into your desired shapes, whether it’s bars, squares, or fun designs.
3. Allow the soap to cure for at least four weeks. During this time, it will become milder and harder, creating a luxurious lather.
Preparation Time:
Creating this palm oil-free cold process soap will take you on an exciting journey of approximately 2-3 hours, including preparation and molding. The curing process takes an additional four weeks, but the wait will be well worth it!
Servings:
This recipe will yield approximately 8-10 bars of fantastic palm oil-free cold process soap. Plenty to keep you clean and moisturized for a long time!
Nutrition Facts:
While these soaps are not meant to be consumed, they will provide your skin with the love and care it deserves. No calories, just pure pampering!
Tips:
- Experiment with different fragrance or essential oil combinations. Find the perfect scent that suits your mood.
- If using colorants, mix them with a small amount of oil or water before adding them to the soap mixture. This ensures even distribution.
- Allow the soap to cure in a cool, dry place. This will help it harden and become milder.
FAQs:
Q: Is it possible to make cold process soap without palm oil? A: Absolutely! This recipe proves that you can create amazing bars of soap without the need for palm oil. Q: Can I add exfoliants like oatmeal or coffee grounds to this recipe? A: Of course! Feel free to experiment with different additives to create a personalized soap bar that suits your needs.
Vegan and Palm Free Cold Process Soap Recipe — Elevation Soaps | Cold

Calling all vegans and eco-conscious soap enthusiasts! We have a fantastic palm-free cold process soap recipe that will leave you amazed. Get ready to elevate your soap-making game with this vegan-friendly recipe that will nourish your skin and protect the environment.
Ingredients:
- Olive oil - 300g
- Coconut oil - 200g
- Shea butter - 100g
- Cocoa butter - 50g
- Sunflower oil - 100g
- Castor oil - 50g
- Water - 160g
- Sodium hydroxide (lye) - 60g
- Fragrance or essential oil - your choice
- Colorants - optional
Instructions:
1. In a well-ventilated area, wearing protective gloves and goggles, slowly add the sodium hydroxide to the water. Stir until dissolved. This creates the lye solution. Set it aside to cool.
2. In a heat-safe container, combine the coconut oil, shea butter, cocoa butter, sunflower oil, and castor oil. Heat them gently until fully melted and combined.
3. Allow both the lye solution and the oils to cool to around 100°F (38°C).
4. Slowly pour the lye solution into the oils, stirring gently as you go. Continue stirring until the mixture reaches a light trace.
5. Add your fragrance or essential oil and any colorants you desire. Stir well to fully incorporate.
6. Pour the soap mixture into molds and cover with a towel or lid to retain heat.
7. Leave the soap to cure for 24-48 hours. It will become firm and easy to remove from the molds.
How to Prepare:
1. Once your soap has fully hardened, carefully remove it from the molds.
2. Cut the soap into your desired shapes, whether it’s bars, squares, or fun designs.
3. Allow the soap to cure for at least four weeks. During this time, it will become milder and harder, creating a luxurious lather.
Preparation Time:
Creating this vegan and palm-free cold process soap will take you on a refreshing journey of around 2-3 hours, including preparation and molding. The curing process requires an additional four weeks, but the wait will be worth it!
Servings:
This recipe will yield approximately 8-10 bars of fantastic vegan and palm-free cold process soap. Plenty to keep you clean and happy for a long time!
Nutrition Facts:
While these soaps are not meant to be consumed, they will provide your skin with the love and care it needs. No